The ease of install is one of the AXS Reverb's main selling points. Lacking any cables means no routing through the frame, no tweaking of cable tension and a largely hassle-free experience[1]. Get ready to thoroughly enjoy installing this seatpost.
- Loosen the seatpost clamp bolt a few turns until the existing seatpost easily slides out. Don't full remove the bolt, though, as it isn't needed and will only increase the chance of having it roll away. Refer to the next section if you need to remove an existing dropper.
- Use a paper towel or soft cloth and wipe down the inside of the seat tube (where the seatpost was just removed). This helps clean out any dirt/grime to create a clean area to install the new post.
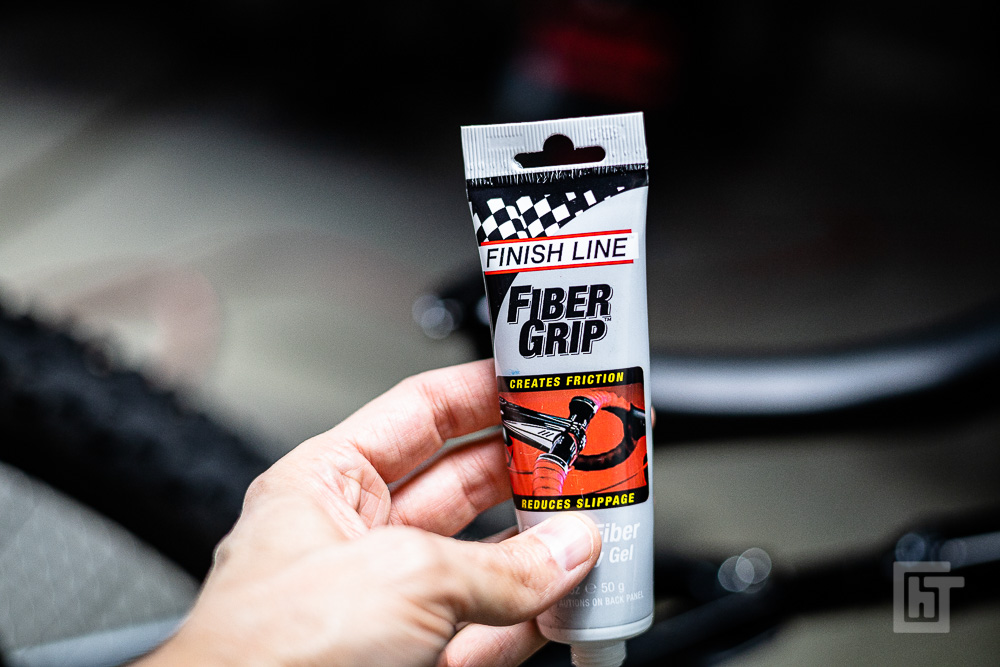
- Place a small amount of friction paste on the inside of the bike where you'll reinsert the new post. This will help hold the seatpost more effectively and will reduce creaking or other similar problems.
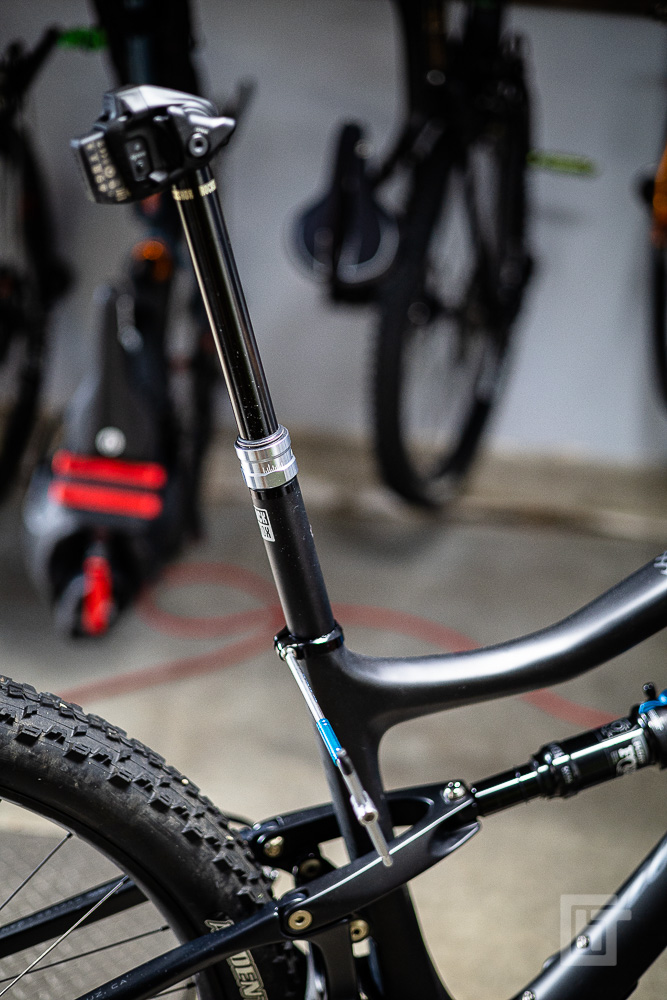
- Slide the AXS Dropper seatpost into the bike. Ensure it is slid in further than the minimum depth line marked on the seatpost. Don't worry about the exact height or orientation yet.
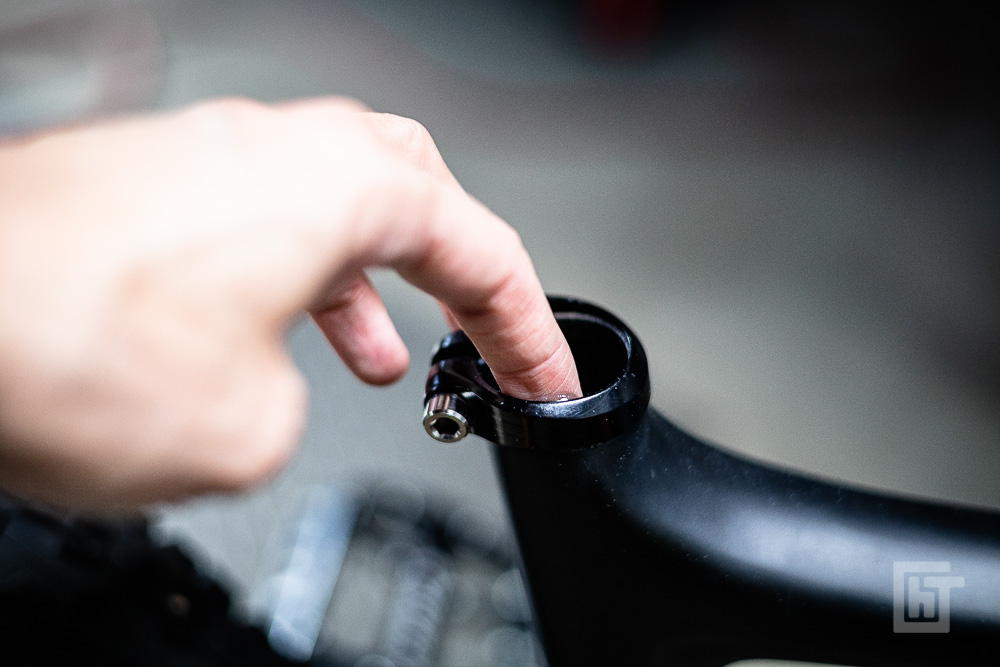
- Loosen the side bolt at the top of the seatpost until the clamping arms are loose. Put in your favorite seat and slide it forward/backward to the desired position. Sometimes, if I'm worried about slippage/creaking, I'll add a bit of lubricant along the seat's rails before installation and then wipe off any excess after it's in place and attached to the seatpost. Retigthen the bolt just enough that the seat won't slide on its own - but DO NOT continue tightening yet.
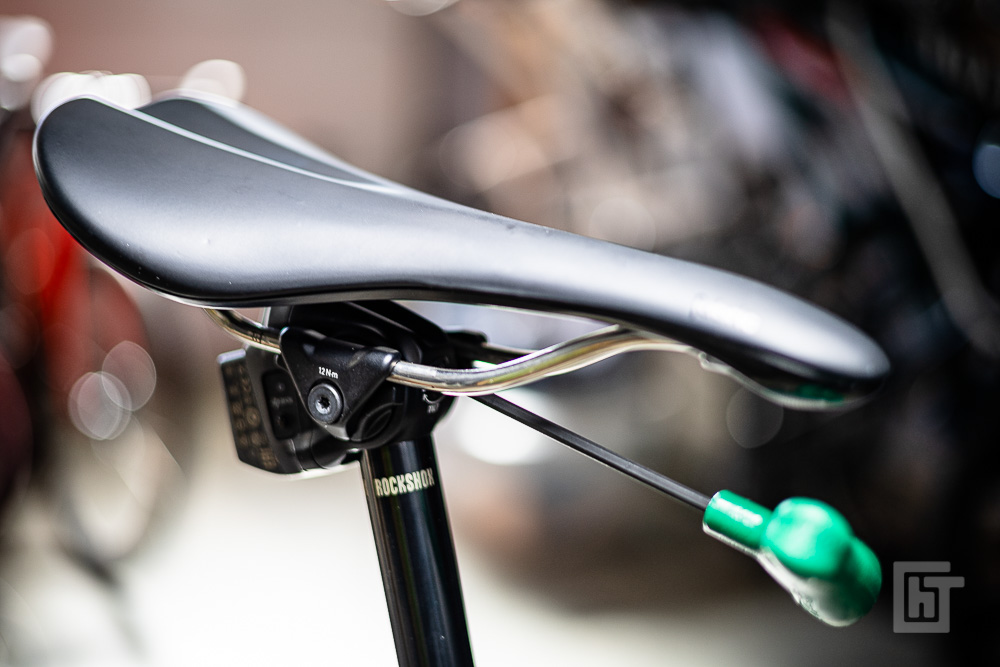
The AXS dropper bolts use a T25 Torx bit rather than a metric wrench size (like 3 or 4 mm sometimes used in these situations). Make sure you're using the proper tool! - Before tightening the side bolt all the way, using a T25 wrench at the top-front of the post, rotate the bolt (this bolt doesn't loosen/tighten things - it only tilts the seat). Adjust the saddle's tilt by continuing to turn the bolt, as desired.
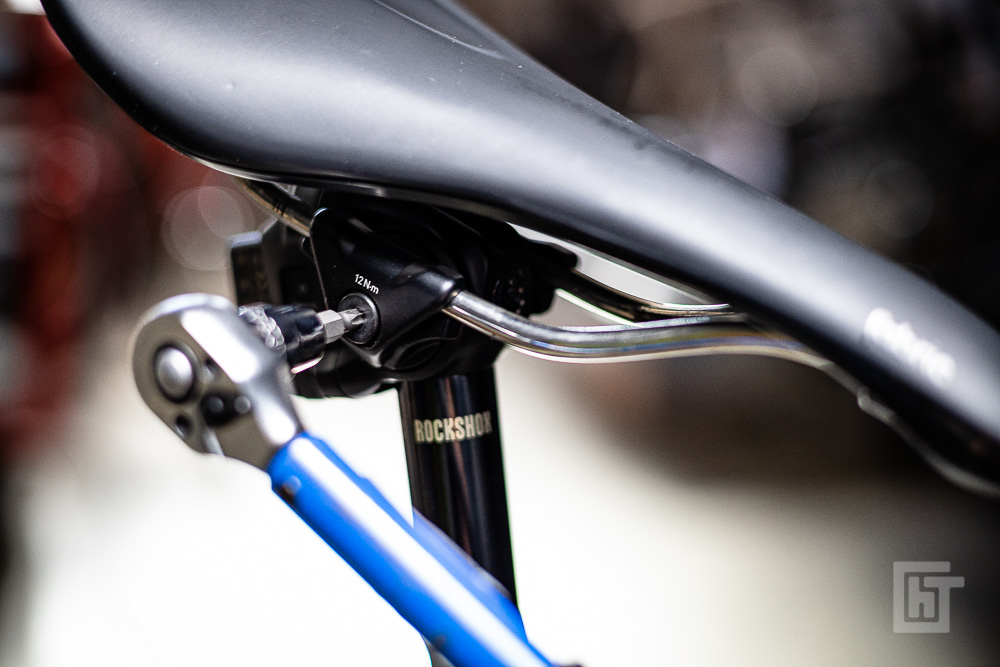
- Tighten the bolts at the top of the seatpost up to 12 Nm (12 felt a bit high for me personally - I used 9 or 10) Nm.
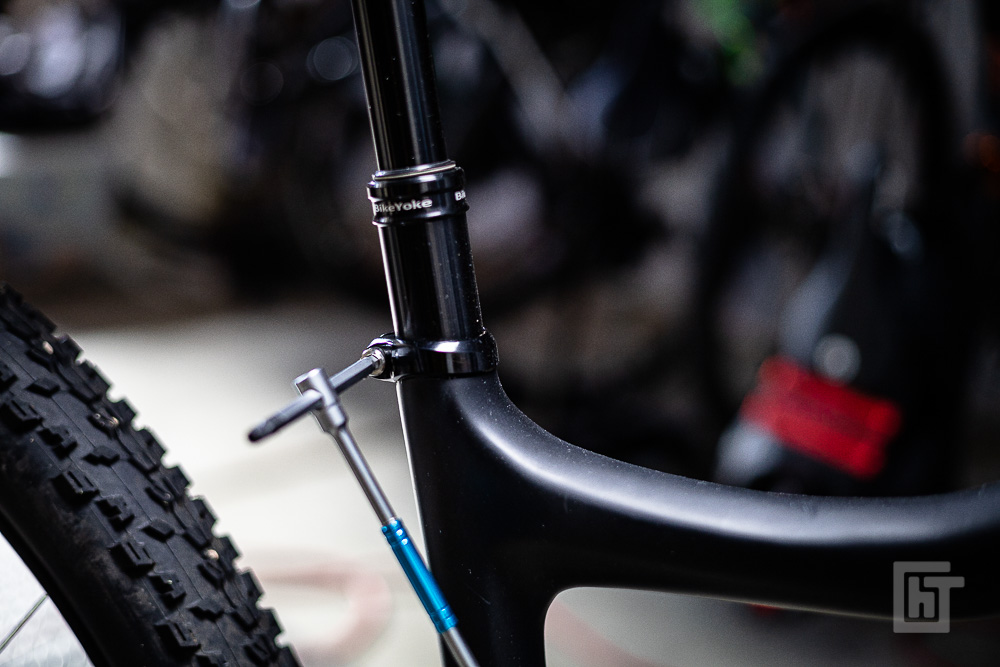
- Loosen the seatpost clamp bolt. Position the seatpost's height to the desired level. Align/center the saddle as desired.
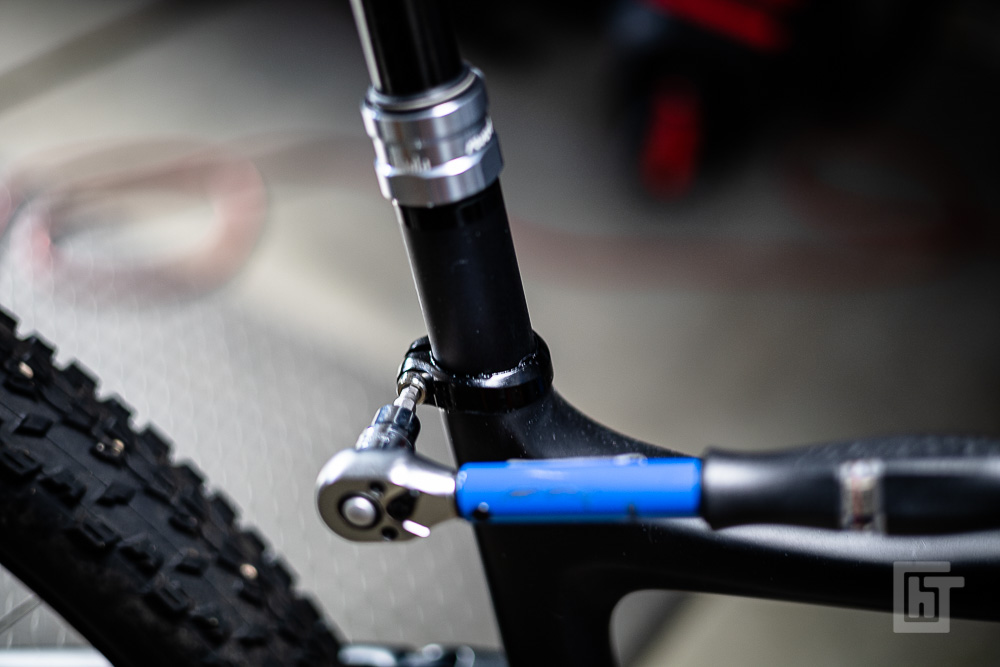
- Tighten the seatpost clamp bolt to your frame's specified tightness, but no more than 6.5 Nm. Overightening this bolt can damage the frame or cause the post to not move up/down smoothly.
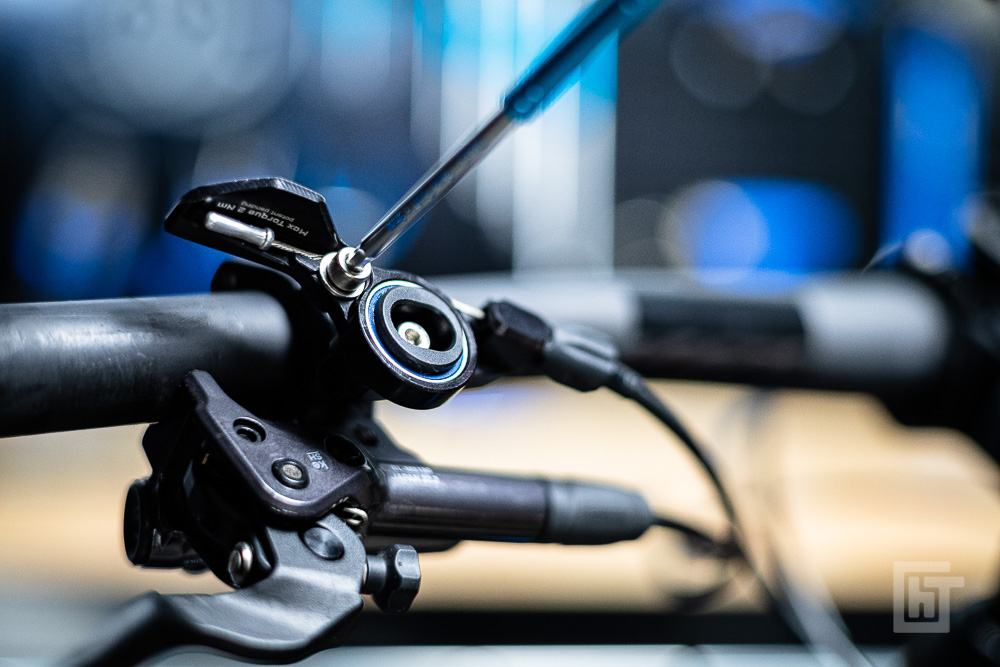
- Install the lever.
- Ensure everything is paired and charged.
- Time to ride!

If You Have an Existing Dropper Installed
If you already have a dropper installed, there's a bit more to removal. The exact steps will depend on your model, but the following general steps will get the job done with most situations.
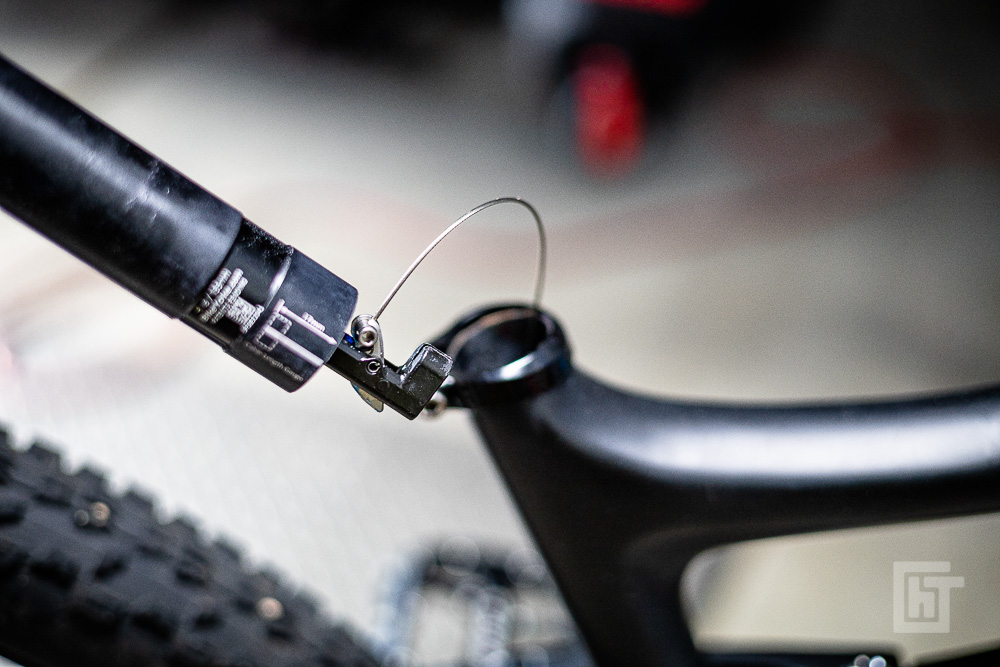
Inspect the dropper lever - if the cable is pinched at the lever, loosen the small bolt to release the cable's tension.
If you see a small round object in the lever and no bolt to release anything, the cable is pinched on the dropper side. In that case, follow the cable from the lever and press/feed some excess cable into the frame so there is some slack at the post so you can pull it out.

If the cable is routed along the outside of the bike, cut the zip ties with wire cutters to loosen up the system. Remove the dropper just enough from the post to expose the bottom. Find the cable at the base of the dropper and loosen the pinch bolt.
After disconnecting the cable (either at the lever or the bottom of the dropper), pull out the dropper and cable. Wipe down and set aside.
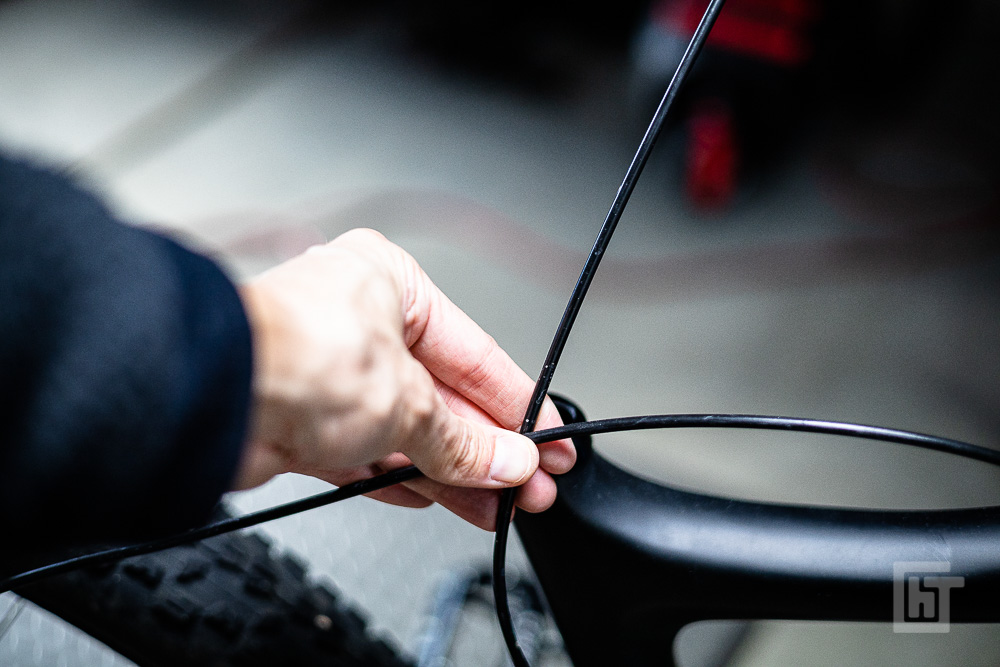
Pull out the remaining housing the cable was running through. Remove the lever from the handlebars (may need to remove a left grip, etc.)
[1] The hardest part will be removing an existing dropper post, if you already have a different model installed.