There are two main ways to mount the remote on your handlebar. The most common is to mount it directly to the bar using the included clamp. The second way is to attach it to an existing brake lever.
Mount Using the Included Clamp
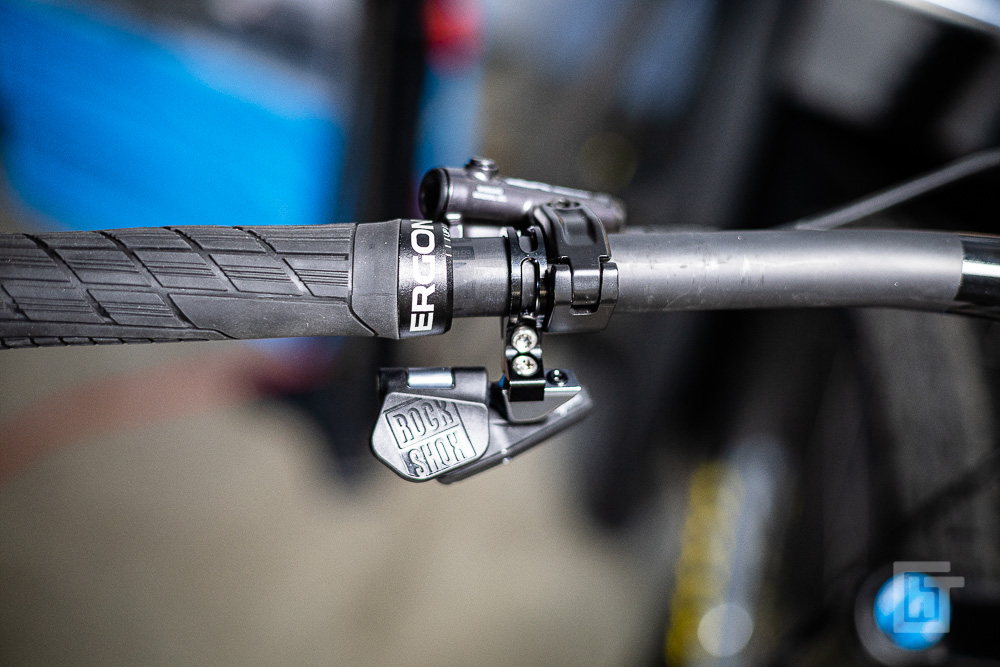
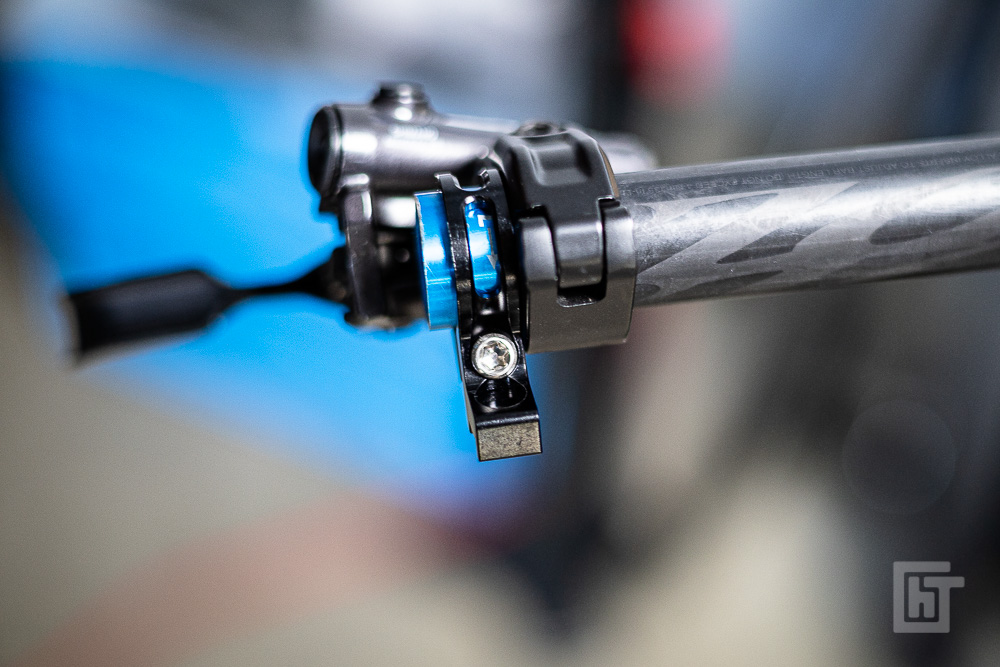
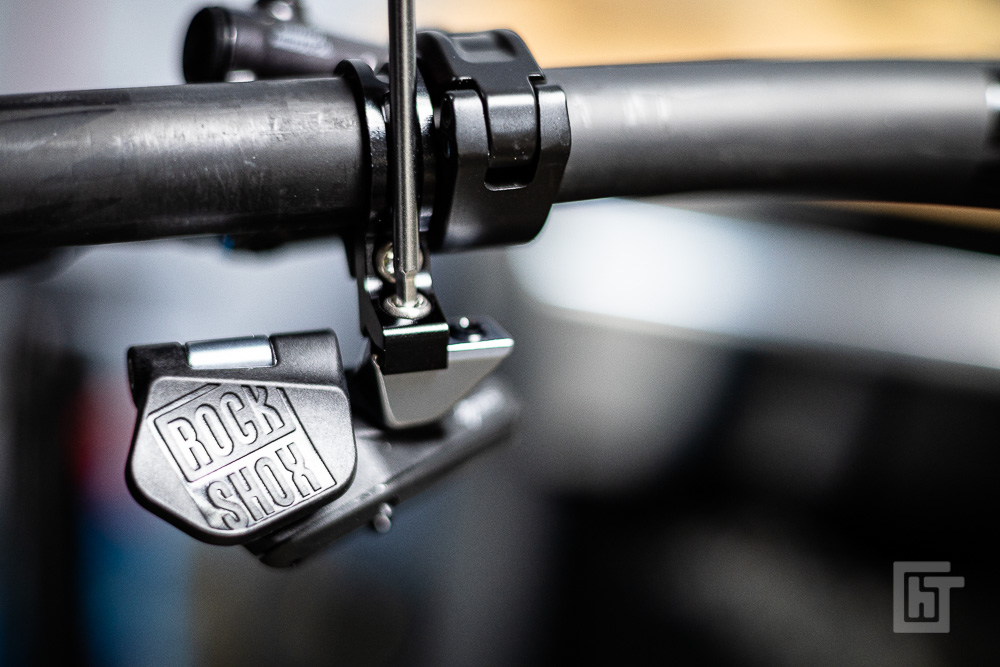
Using the provided clamp allows installation anywhere along the bar - usually near the left brake lever. Using the separate clamp provides more flexibility but can add some visual clutter by utilizing another clamp (rather than connecting to an existing brake lever clamp).
- Remove the left grip.
- Depending on your lever, you may need to slide it off halfway to allow the clamp to sit between the lever body and resting arm (as is the case with my Shimano XT brakes).
- Slide the AXS clamp onto the bar with the mounting section pointing downward. Slide everything back over to the approximately correct spot. Don't fully tighten the bolts.
- Attach the AXS lever to the clamp using the bolt. Don't fully tigthen this either.
- Replace the left grip and move everything to just the right spot. Re-tighten the bolts. Don't exceed 3 Nm on either bolt.
Typically you should be able to move your levers (brake, shifter, dropper) just a bit with some force. This ensures they move - and don't snap - in a crash, but are still tight enough to not move in normal use. - Replace the left grip.
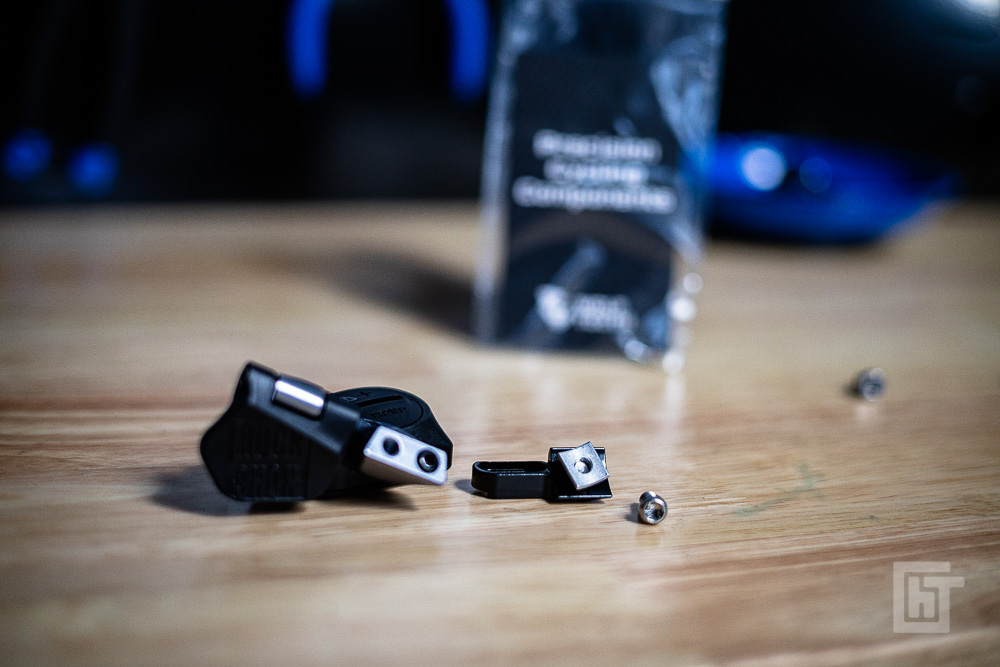
Mount to an Existing Brake Lever
Some riders prefer to mount their dropper lever to their existing left brake lever. Doing so can help make the cockpit look less cluttered as there is one less clamp around the bar. The downside is that it provides less flexibility on exactly where to place the lever (it must be adjacent to the clamp and can't be moved in/out as far).
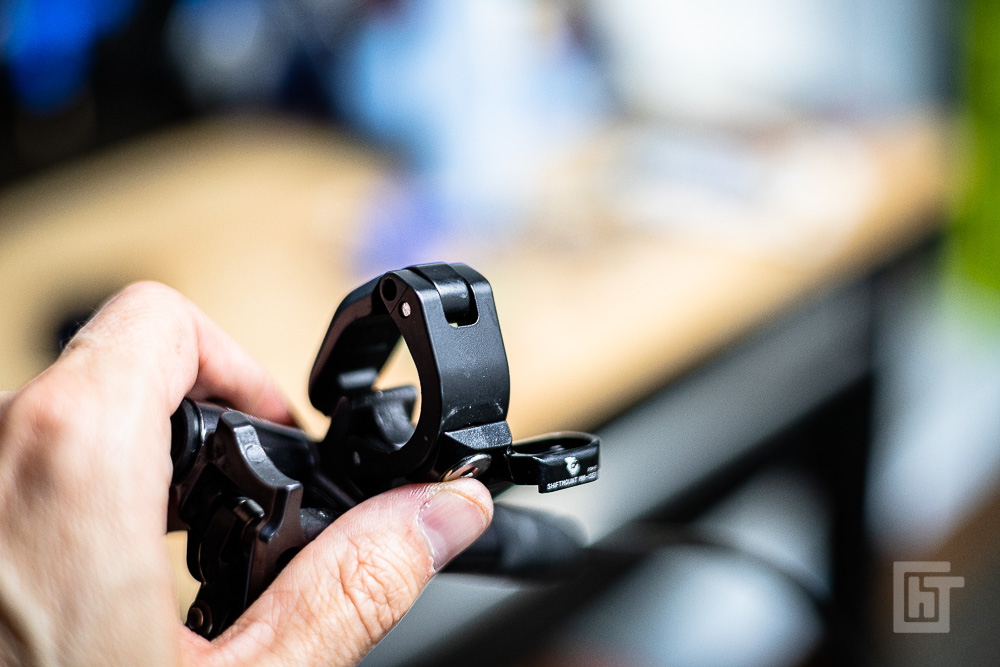
- Purchase the appropriate adapter to attach the AXS seatposts lever SRAM matchmaker style to the brake lever. I purchased this adapter from Wolftooth to adapt to my Shimano XT brake lever.
- Attach the adapter to the brake lever.
- Attach the AXS dropper lever to the adapter.
- Adjust in small amounts, if the adapter allows any slight repositioning.
- Hand-tigthen any bolts - do not exceed approximately 3 Nm.